VM Creation From Scratch
Step 1:
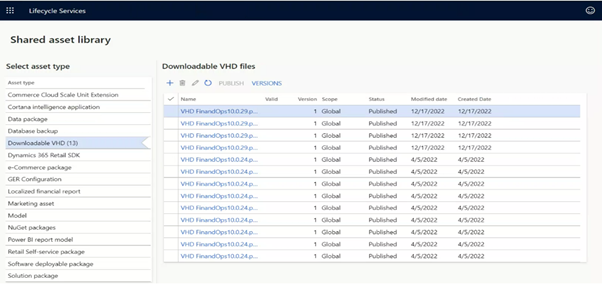
Begin by navigating to your LCS Account. Open the shared asset library in LCS and download the latest version of the VHD file. Once the download is complete, extract the file.
Step 2:
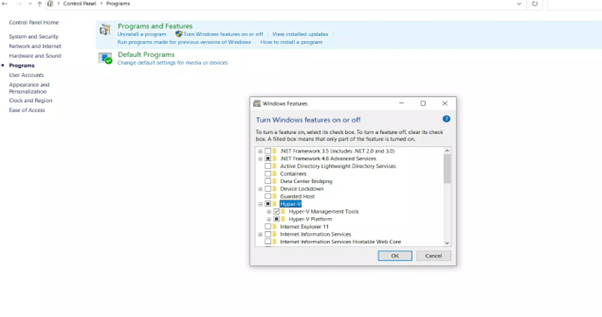
Go to the control panel on your machine. Navigate to the "Programs" section and select the "Turn Windows features on or off" button. Enable Hyper-V control.
Step 3:
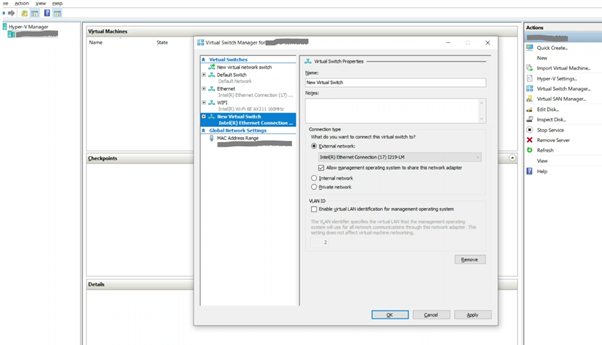
Open Hyper-V Manager with administrator privileges. Click on "Virtual Switch Manager," choose "External".

Create two virtual switches—one for Ethernet connection and one for Wi-Fi or use the default switch.
Step 4:
And then click new and continue with Virtual Machine for new VM creation.

Step 5:
Click "Next."

Step 6:
Provide a new name and click "Next."

Step 7:
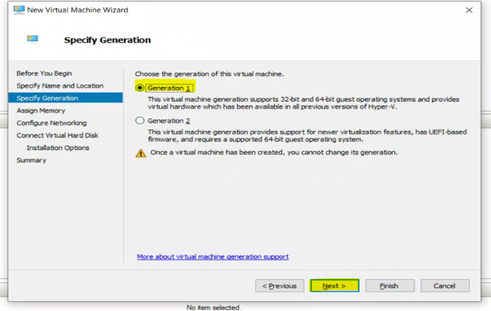
Choose "Generation 1" and proceed by clicking "Next."
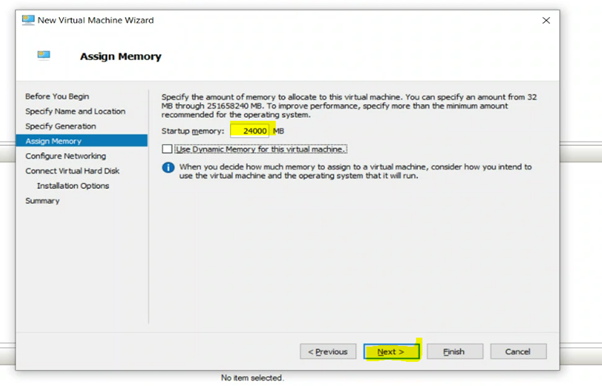
Step 8:
Allocate a memory size of 24000 and click "Next."
Step 9:
Select the required connection and click "Next."

Step 10:
Specify the VHD file location and click "Finish."

Step 11:
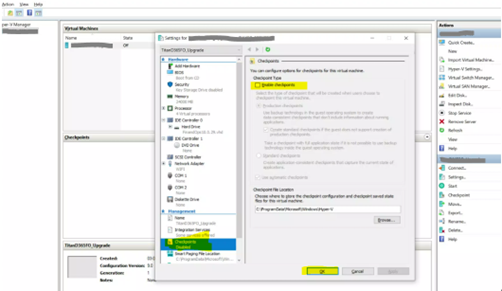
Make the following adjustments in the VM settings:
- Disable all checkpoints.
- Set the processor count to 4.
Sign-In using the following credentials:
Username: Administrator
Password: pass@word1